Congratulations on your new qualifications! Now, make sure you add them to your LinkedIn profile to show employers and recruiters what you know and can do. Here are step-by-step instructions…
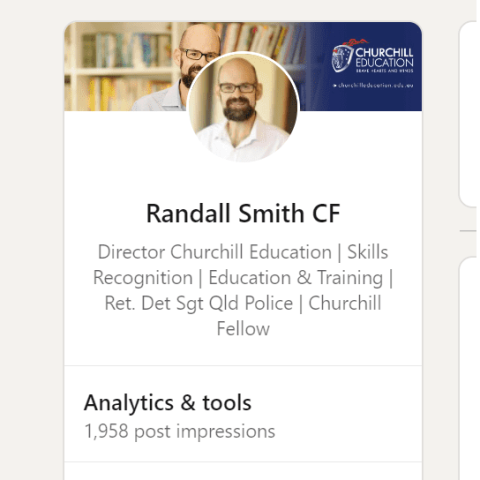
Step 1 – Click on your profile image
We’re using the profile of Churchill Education co-founder and director, Randall Smith, as an example.
Clicking on your profile image will take you through to your full profile description.
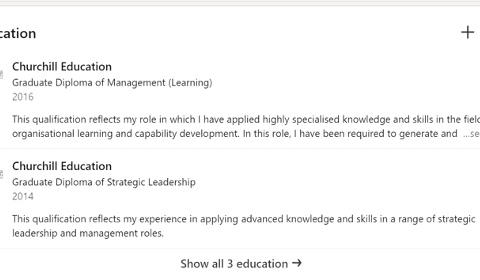
Step 2 – Go to your ‘Education’ section
Once your full profile loads, scroll down to your ‘Education’ section:
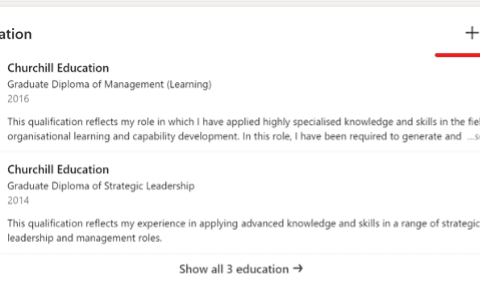
Step 3 – Add a new qualification
Click on the + button in the top right of your Education section to add a new qualification.
Step 4 – Qualification details – what to add:
Here’s where to add the details of your new qualification:
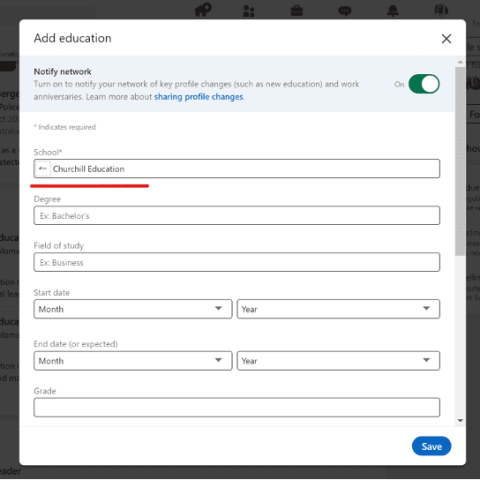
School: Churchill Education
Degree: Your qualification name, e.g. Graduate Diploma of Strategic Leadership
Field of Study: Optional.
Start & End Date: For qualifications gained through recognition of prior learning (RPL) you can skip the start date and just add the year you achieved your qualification.
Step 5 – Description, Skills, Media
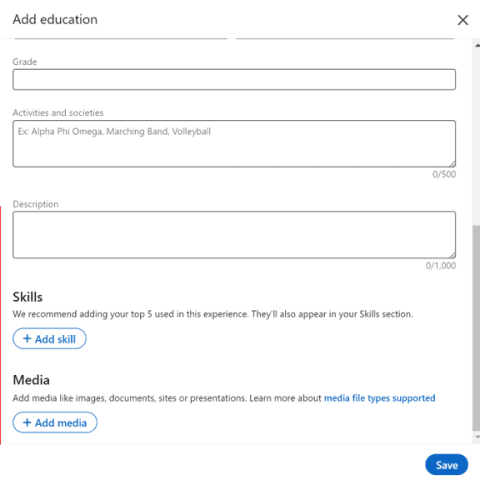
Description
This is where you can give a short explanation of the experience your qualification captures/reflects. For example, Randall provided this description for his Graduate Diploma Strategic Leadership:
“This qualification reflects my experience in applying advanced knowledge and skills in a range of strategic leadership and management roles.”
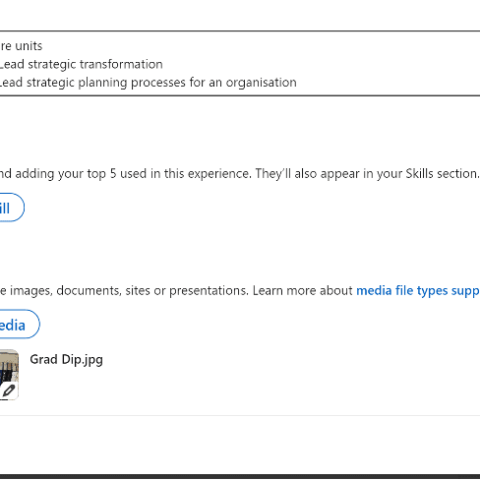
Skills
LinkedIn recommends you list 5 skills associated with your qualification. These will then also appear in your skills section.
This is valuable as employers and recruiters look for certain skills. Generally it will be AI that will find these so whilst your qualifications and experience might tell a human that you have the skills, AI won’t select you as a candidate if you don’t fulfil the parameters it programmed to search for.
Media
You can upload the PDF version of your qualification that we emailed you in this section. Having multiple mediums of information on your profile helps to create your ‘digital twin’ – your online persona that employers, recruiters and networkers can connect with.
Step 7 – Ensure that ‘Notify Network’ is switched ON
This is the most important step!
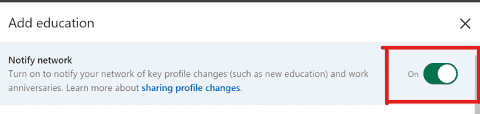
Make sure you turn on Notify Network.
There are 3 great reasons why this is important:
- You need to be proud of what you’ve achieved and what you’ve received. It’s a worthy reflection of your career skills and experience.
- It lets your network know, so that you can celebrate your achievement and receive validation for all your har work.
- The most important reason is so potential employers and recruiters can see you have the qualifications. This is particularly important if you are currently looking for a new job.
Step 7 – Don’t forget to press SAVE
After you’ve turned on Notify Network, scroll down and make sure everything you’ve added is correct.
Then be sure to press the SAVE button at the end.
We hope this article has been helpful.
If you’ve got any questions, or would like to find out how your recent experience stacks up against qualifications, please be sure to contact us via any of the below methods. We are always happy to help!